Unsure what daily checks need to be done on your Smartlift glazing robot? A number of simple points outlined in this blog post can ensure safe and trouble-free glass lifting.
LOLER Certificate
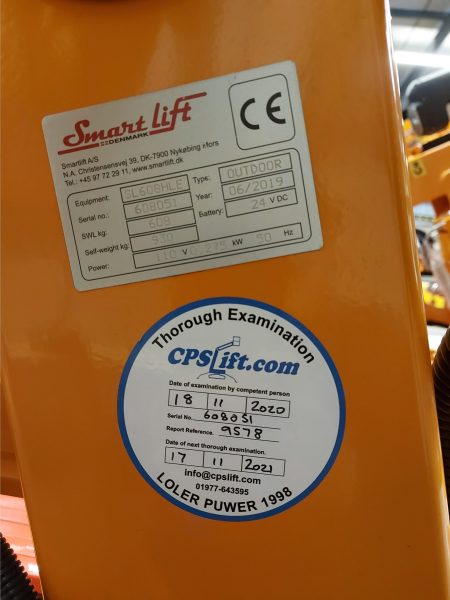
Check your Smartlift LOLER certificate is in date. This is a legal requirement and your glazing robot should not be used without one.
The Lifting Operations and Lifting Equipment Regulations 1998 (LOLER) place a duty on businesses who own, operate or have control over lifting equipment. The regulations require all lifting equipment and attachments to be fit for purpose, appropriate for the task, suitably marked and subject to a periodic thorough examination.
Your glazing robot lifts materials and not people, so it requires an examination every 12 months by a competent person. Records of the inspections should be kept and any defects remedied in the timescales specified.
You can find HSE guidance on LOLER regulations here.
Safety Decals
All Smartlift glazing robots come with the following safety decals. It is important to make sure they are clear and intact for operator safety. If not, get them replaced.
Lifting and tie down point locators
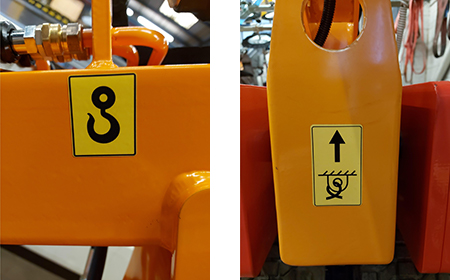
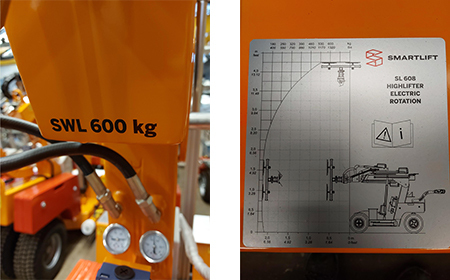
Safe working envelope chart
Emergency stop button locator

LOLER sticker
Chassis outrigger locators

User Manual
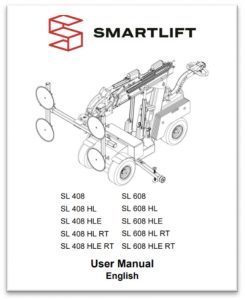
All Smartlift glazing robots are issued with a user manual – This needs to be readily available for the operator and its location clearly marked and/or communicated.
Component Damage
It is important to check your glazing robot for visible damage. Items to check are:
- Wheels and tyres
- Actuators
- Battery charger
- Booms
- Chassis Outriggers
- Rotating head, pad adjusters and spring latches
- Vacuum hoses and vacuum pads
- Remote control
- Overload switch
If there is any visible damage then no glass lifting should take place and you should seek professional advice.
Smartlift Pre-Lift Operation
Function checks on your Smartlift glazing robot are vitally important. They should be carried out prior to use with a record of each check stored on file. The pre-operation checks you should perform include the following:
- Isolator key switch – Insert the isolator key and turn clockwise – This should engage the power
- Emergency stop buttons – Push and twist to lock on and off
- Drive and steer – Ensure the steering is free and the drive engages correctly
- Check trap switch – Manoeuvrer the robot backwards and allow the red trap switch on the steering controls to press against your stomach – This should jump the robot forward
- Check the operation of all remote control buttons
- Check both vacuum meters are reading between -0.6 and -0.7 bar
- Check the vacuum pads are dry, clean, and free from rips/tears – If they need to be cleaned, use hot soapy water only as detergents will contaminate the pads
- Check function of the vacuum slide valve by pushing it in
- Once the vacuum slide valve is pushed in, check the alarm and warning lights are operational
- Return the vacuum slide valve and ensure both vacuum meter’s return to -0.6/-0.7 bar and the alarm stops
Check out our Smartlift Daily Checks Video for a full walk through!
Conclusion
If you are unsure about anything then just ask – our customer services team are only a phone call away!
For any professional advice on Smartlift glazing robot maintenance, servicing or repairs, please call 01977 643 595 or email us at info@cpslift.com.
Click here for HSE guidance on the safe use of vacuum lifting equipment.
Our Blog